Table of Contents
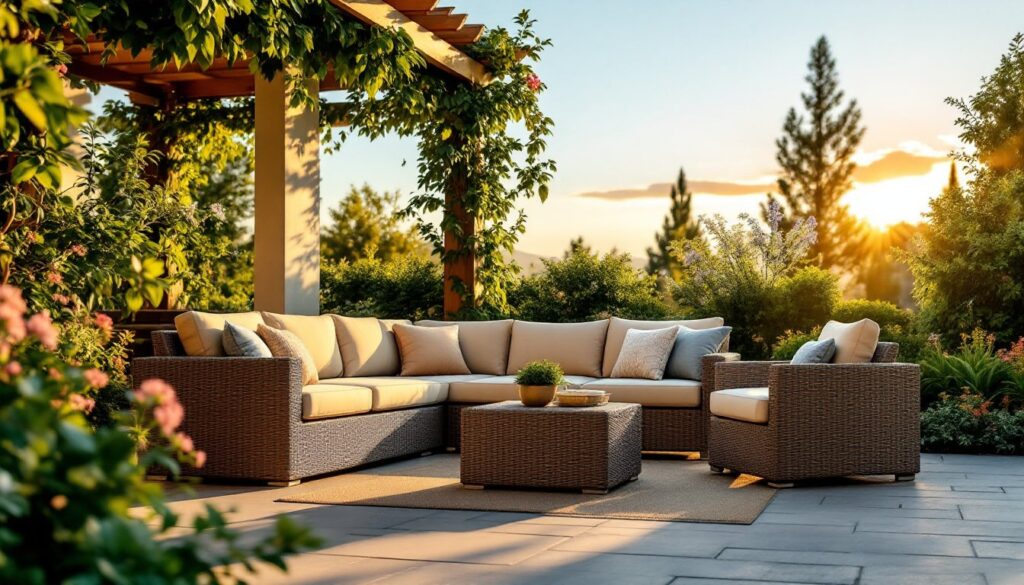
ToggleBuying patio furniture off the rack is expensive, and your backyard deserves better than mass-produced plastic loungers. DIY patio furniture lets you build exactly what you want, from budget-conscious pallet setups to sleek concrete pieces, without the retail markup. Whether you’re tackling homemade patio furniture for the first time or looking for fresh diy wood patio furniture ideas, this guide walks you through six doable projects that transform your outdoor space. You’ll learn what tools you actually need, which materials work best, and how to avoid the mistakes that sink most DIY projects before they get started.
Key Takeaways
- DIY patio furniture costs two to three times less than store-bought options while allowing you to control materials, dimensions, and design to match your home exactly.
- Pallet wood seating is an affordable entry point for beginners, requiring only $30–$80 in materials and basic hand tools to create a comfortable lounge sofa.
- Concrete and steel tables offer modern durability for salt air and high-moisture regions where diy wood patio furniture requires constant maintenance.
- Heat-treated pallets (stamped HT) are safe for outdoor use, while methyl bromide-treated pallets (labeled MB) should be avoided entirely.
- Essential safety practices—safety glasses, dust masks, hearing protection, and proper clamping—keep you injury-free while building projects that last decades.
- Repurposed materials from reclaimed barn wood to old doors reduce costs and landfill waste, but always test salvaged wood for lead paint before sanding.
Why DIY Patio Furniture Beats Ready-Made Options
Store-bought patio furniture often costs two to three times what you’ll spend building it yourself, and it shows. Flimsy joints, weather-vulnerable veneers, and design that screams “mass production” are standard. DIY patio furniture ideas give you control: you choose wood species, finish, dimensions, and style to match your home, not a catalog. You also get durability. Mortise-and-tenon joinery and properly sealed hardwoods outlast particle-board frames by decades. The labor? Yes, it takes time. A simple lounger takes a weekend: concrete tables might span a couple of days. But the skills you build, measuring, cutting, joinery, finishing, carry forward to kitchen cabinets, raised beds, or deck repairs. Most importantly, you know exactly what’s in the piece. No mystery fasteners, no surprise rust, no wobbling after one season.
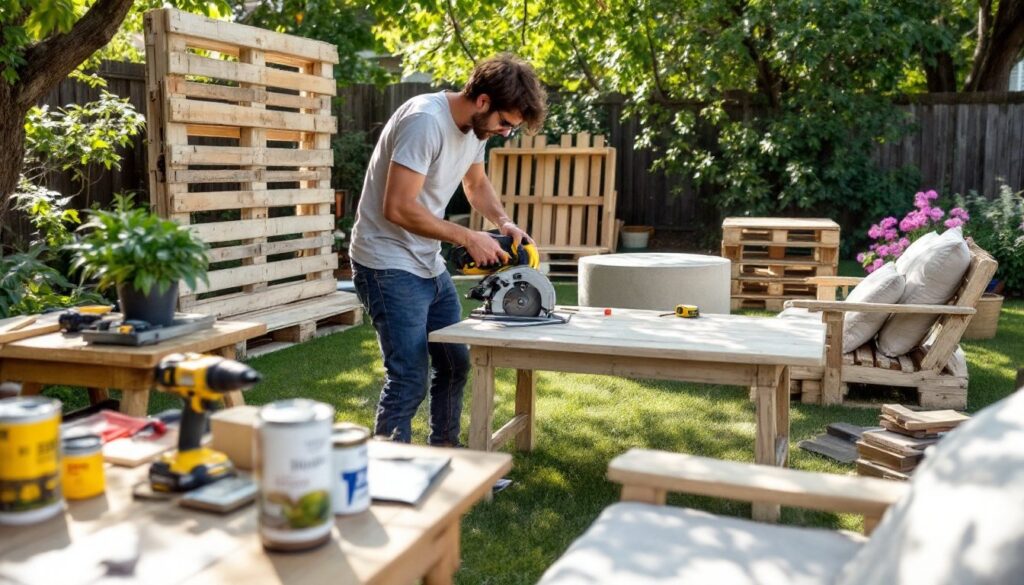
Simple Pallet Wood Seating: Create a Budget-Friendly Lounge Sofa
Pallets are the gateway drug to DIY woodworking. A pallet sofa or lounge chair costs $30–$80 in materials and requires basic hand tools. Look for pallets stamped with HT (heat-treated, safe for food and outdoor use) at warehouses or ask local businesses. Avoid pallets labeled MB (methyl bromide), which is toxic.
What You’ll Need:
• 3–4 heat-treated pallets
• 2×4 lumber (8 feet) for the frame, optional, for added height
• 2.5-inch exterior wood screws
• 80-grit and 120-grit sandpaper
• Exterior wood stain or sealant (like Minwax Helmsman Spar Urethane)
• Cushions (indoor foam won’t survive UV exposure: use outdoor-grade)
Steps:
- Disassemble or stack pallets whole. If you’re breaking them down, a reciprocating saw with a demolition blade cuts fasteners quickly, safer than a pry bar, which splits wood.
- Sand all surfaces with 80-grit, then 120-grit. Pallets are rough: this prevents splinters and helps stain adhere evenly.
- Build a frame from 2×4s (optional, but adds height and stiffens the piece). Use a miter saw for clean 45° angles at corners, or simple butt joints with pocket holes.
- Lay pallet decking face-up on the frame. Space boards ¼ inch apart for water drainage. Screw down with 2.5-inch exterior screws, two per board at each cross-member.
- Apply two coats of exterior sealant, sanding lightly between coats. This is not optional if the sofa lives outdoors.
- Top with outdoor cushions for comfort.
Design Considerations for Pallet Furniture
Pallets aren’t one-size-fits-all. Standard pallets measure 48×40 inches (nominal), but industrial pallets vary. Before you commit, source your pallets and measure. A single pallet makes a decent end table or side seat: three to four pallets become a sectional or daybed. Stacking pallets vertically requires cross-bracing with 2×4 lumber and lag bolts, or the top pallet will shift. Orientation matters too: lay boards perpendicular to the frame for maximum strength, not parallel. Most DIYers use cushions to hide wobbly joints, but tight construction, with pocket holes or lag bolts, eliminates the need for cover-ups.
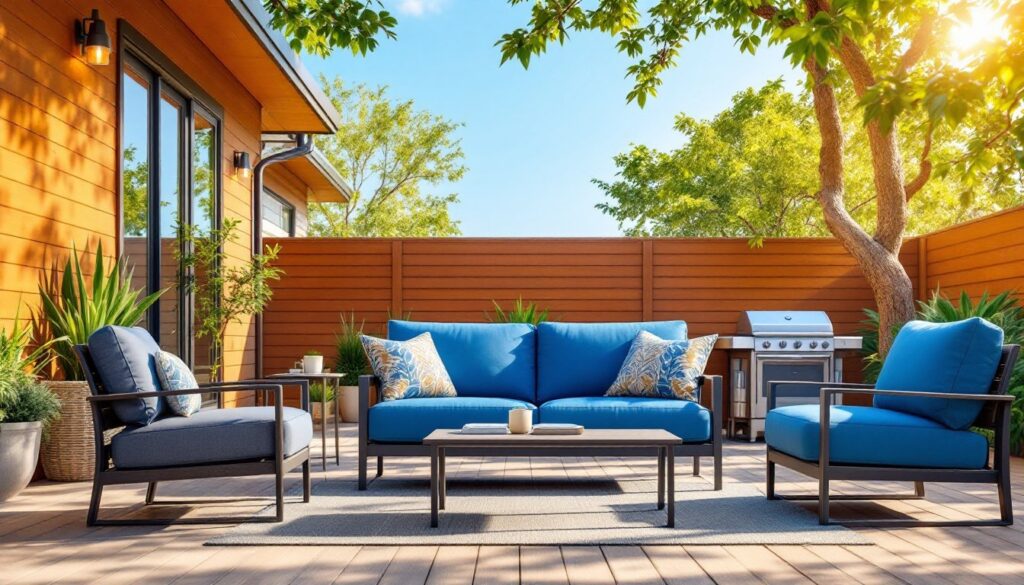
Concrete and Steel Side Tables for Modern Patios
Concrete tables look industrial and cost a fraction of designer versions. A 16×16-inch side table runs $20–$40 in concrete and rebar, plus a simple steel base you build or repurpose.
Concrete Tabletop (16×16×2 inches):
Materials:
• Concrete mix (60-pound bags: you’ll need 2–3 for a small top)
• ½-inch rebar (cut to length, optional but adds tensile strength)
• Melamine or plywood for forms
• Concrete sealer (Aqua Mix Sealer’s Choice Gold or similar)
• Sandpaper (220-grit, for smoothing edges post-cure)
Basic Process:
- Build a 16×16-inch form box from 2-inch melamine or plywood. The interior face is what shows, so seal it with release agent (vegetable oil works) to prevent concrete sticking.
- Mix concrete per bag instructions, aim for pancake batter consistency. Add fiber reinforcement or lay rebar if you’re concerned about cracking under heavy use.
- Pour into the form, tamp to release air bubbles, and smooth the top with a float. Concrete pours should be 2 inches thick minimum for outdoor furniture.
- Cover with plastic and let cure for 48–72 hours. Concrete gains most strength in the first week but continues hardening for a month.
- Remove forms and sand the top and edges with 220-grit sandpaper. A orbital sander saves time. Seal with concrete sealer, essential outdoors to prevent stains and frost damage.
Steel Base:
Pair your concrete top with a welded steel frame or salvaged angle iron. If you don’t weld, hire a local fabricator for a basic 16×16-inch base ($50–$100 labor). Alternatively, bolt a concrete top to a steel hairpin leg set (widely available online, $25–$40). Epoxy the legs to the concrete underside for a cleaner look. Apply clear coat polyurethane over steel to prevent rust in wet climates.
DIY wood patio furniture often competes with concrete for durability, but concrete excels in salt air or high-moisture regions where wood requires constant maintenance.
Repurposed Materials: Transform Old Items Into Outdoor Pieces
Your attic or neighborhood bulk trash holds patio gold. Old doors become tabletops (seal the wood heavily). Reclaimed barn beams and fence boards are designer-grade lumber. Wine barrels split in half make planters flanking a seating area. A cast-iron bathtub becomes a fire pit, though you’ll need to drill drainage holes and line the interior with fire-safe material.
Start with pieces that already have character: weathered barn wood, architectural salvage mantels, industrial metal bases from old machinery. The work is mostly finishing, sanding, sealing, and bolting pieces together. A modern outdoor chair from standard lumber can also incorporate salvaged elements, like old chair backs or frame components.
One caveat: test salvaged wood for paint lead (pre-1978 exterior paint often contains lead). Use an inexpensive test kit before sanding. If lead is present, wet-sand or use a shrouding vacuum, and dispose of dust safely. Don’t burn old wood indoors or assume it’s safe, one lead exposure isn’t worth it.
Repurposed materials reduce landfill waste and often cost less than new lumber, especially if you source from estate sales or deconstruction companies. The downside is inconsistency, you can’t always find matching pieces, and hidden rot or damage. Inspect carefully. Soft spots indicate decay: avoid those pieces entirely.
Essential Tools and Safety Tips for Your Projects
You don’t need a full shop to build patio furniture. A handheld circular saw, a drill, a tape measure, and a level get you through most projects. A miter saw (compound miter, 10–12 inches) cuts cleaner angles for posts and rails than a circular saw but costs $200–$400. A random orbital sander speeds finishing.
Core Tool List:
• Drill-driver (18V lithium-ion, $80–$150)
• Circular saw or miter saw
• Tape measure (25-foot minimum)
• Carpenter’s square and speed square
• Hammer, pry bar, hand plane (for chamfering edges)
• Orbital sander (optional but saves hours)
• Level (4-foot for checking frames)
Safety is Non-Negotiable:
- Wear safety glasses whenever using power tools or sanding. Sawdust or splinters in the eye cause real harm.
- Dust mask or N95 respirator when sanding, especially around concrete dust (silica hazard) or old paint.
- Hearing protection (earplugs or muffs) for miter saws and circular saws, they exceed 100 dB.
- Work gloves for material handling, but remove them before operating power tools. Gloves can catch spinning blades.
- Keep hands clear of blade paths. Clamp your workpiece: don’t hold it freehand near the blade.
- Secure your work. A workbench vise or C-clamps prevent the piece from shifting mid-cut.
Resources like The Handyman’s Daughter and Fix This Build That offer detailed safety guides and tool reviews if you’re building your first workshop. Start with quality basics, cheap tools frustrate and are often unsafe, and add specialty tools only when a project demands them.
Conclusion
DIY patio furniture transforms your outdoor space on a real budget while building skills that carry into every future project. Whether you’re drawn to the simplicity of pallet seating, the sleekness of concrete tables, or the resourcefulness of repurposed pieces, the payoff is the same: a backyard that reflects your style, built by your hands. Start small, a side table or lounger, then tackle bigger pieces as your confidence grows. Proper prep, quality materials, and honest safety habits will keep you injury-free and producing pieces that last decades, not seasons.